
November 15, 2026
Why Is Water Filter Leaking? Find the Cause
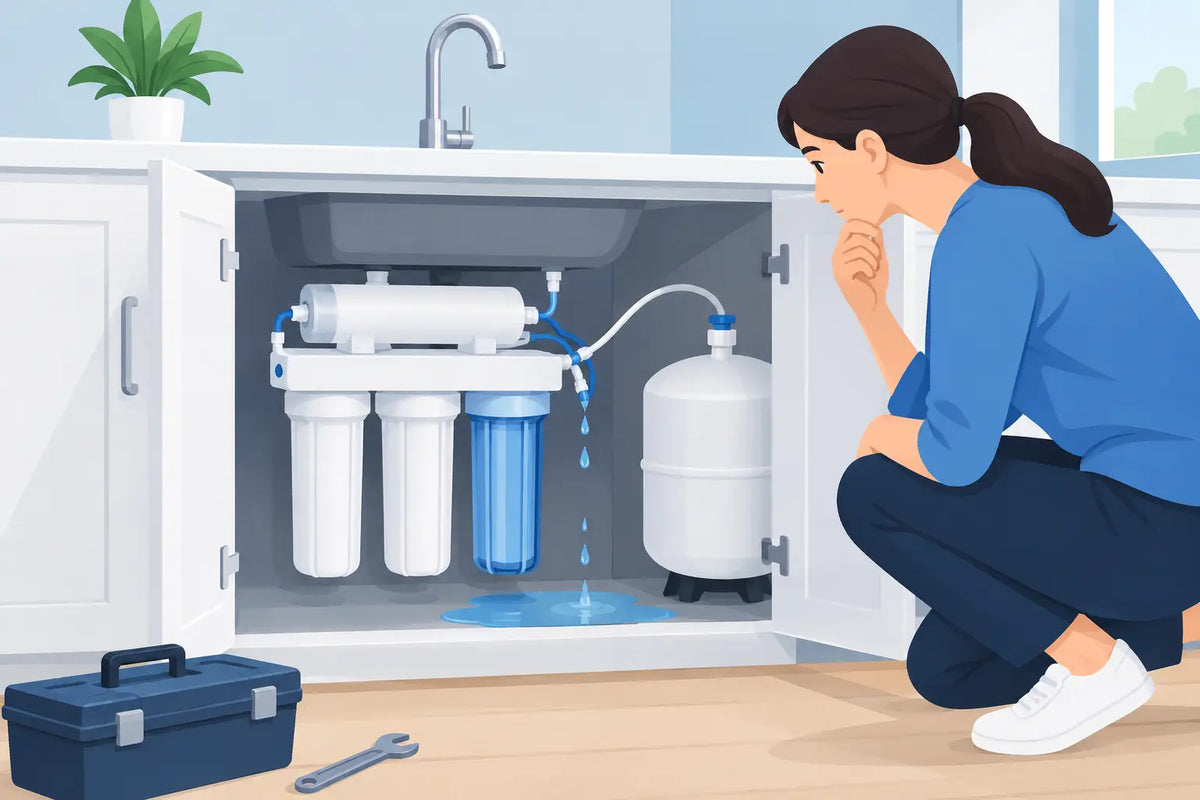
A few drops under a water filter can quickly become cabinet damage, warped flooring, or a surprise utility bill. If you are asking, “why is water filter leaking,” the answer is usually not that the system has failed completely. Most leaks come from a worn seal, an incorrectly seated cartridge, a loose fitting, or pressure that the system was not designed to handle.
The first priority is simple: stop the water, identify exactly where the leak begins, and avoid overtightening parts that may crack. A properly installed filtration system should protect your water and your home, not create another maintenance problem.
First, Shut Off Water and Find the Leak Source
Turn off the feed-water valve serving the filter. For an under-sink drinking water system, that is usually the small valve on the cold-water line. For a whole-house filter, use the bypass valve if installed, or shut off the main supply before opening the housing.
Dry the filter completely with a towel, then restore water slowly while watching with a flashlight. Water can run along a housing or tube before dripping, so the lowest wet spot is not always the source. Check the filter head, housing seam, sump bottom, fittings, tubing connections, shutoff valves, and faucet or drain line.
Do not use a wrench to force a plastic filter housing tighter. Housings can crack at the threads or around the inlet and outlet ports. If a crack is present, replacement is the safe solution.
Why Is Water Filter Leaking at the Housing?
The housing is the canister that holds a cartridge in many whole-house and under-sink systems. A leak at the seam between the cap and the clear or opaque sump is commonly an O-ring issue.
The O-ring is dirty, dry, pinched, or worn
Every time a housing is opened for a filter change, the O-ring should be removed, inspected, cleaned, and lubricated with food-grade silicone grease. Sediment, a twisted O-ring, or an O-ring that has dried out can leave a small channel for water to escape under pressure.
Remove the O-ring and examine it closely for flattening, nicks, stretching, or cracks. Clean the groove where it sits, apply a light, even layer of silicone grease, and reinstall it without twisting. If it looks damaged or no longer fits snugly, replace it with the correct manufacturer-specified size. An O-ring that is merely similar in diameter may not seal correctly.
The cartridge is not seated correctly
A replacement cartridge that sits crooked, is too tall, or does not match the housing can prevent the sump from closing fully. This is especially common when a universal cartridge is used in a system with a specific center stem, gasket style, or proprietary filter head.
Confirm that the cartridge is the right length, diameter, and end-cap configuration. Reinstall it squarely, then hand-tighten the housing with the supplied wrench only as needed. The goal is a secure seal, not maximum force.
The housing threads or sump are damaged
Cross-threading can happen when the sump is installed at an angle. Fine cracks can also develop after a housing is dropped, exposed to freezing temperatures, or tightened too aggressively. A cracked housing may only leak when water pressure rises, making the problem seem intermittent.
Never try to repair a pressurized filter housing with glue, tape, or sealant. Replace the damaged part. For whole-house filtration, use a housing rated for your plumbing size, flow rate, and household pressure.
Leaks at Fittings and Water Lines
Water filters use several connection types, including threaded pipe fittings, push-to-connect fittings, compression fittings, and flexible supply lines. Each can leak for a different reason.
Threaded fittings need the correct thread sealant or PTFE tape applied to the male threads. Too little can allow seepage; too much can interfere with engagement or stress a plastic port. Tape does not belong on compression threads, where the seal is made by the ferrule, nor on most push-to-connect fittings.
For push-to-connect tubing, shut off the water, depressurize the line, remove the tube, and inspect the end. It should be cut square, free of scratches, and inserted fully to the fitting’s depth. A tube that is oval, rough, or only partially inserted can leak slowly. Replace damaged tubing rather than trimming it repeatedly until it becomes too short or creates a sharp bend.
Compression fittings can leak when the ferrule is not aligned, the tubing is not fully inserted, or the nut is overtightened. Tighten in small increments while checking for drips. If the fitting has already been tightened excessively, replacing the ferrule and nut is often more reliable than continuing to force it.
Pressure Problems Can Cause a Water Filter Leak
High water pressure is hard on filter housings, fittings, valves, and reverse osmosis components. Many homes have pressure that climbs overnight because of thermal expansion from a water heater, even if daytime pressure seems normal.
A pressure gauge attached to a hose bib or laundry connection can reveal whether incoming pressure is consistently too high. Residential plumbing is generally most comfortable below 80 psi, while many treatment systems perform best within a lower manufacturer-recommended range. Check the specifications for your particular system.
If pressure is elevated, a pressure-reducing valve may need adjustment or service. A reverse osmosis system may also require a properly matched pressure regulator or booster pump, depending on inlet pressure and system design. Solving the pressure issue protects more than the filter - it helps protect appliance valves, ice makers, and plumbing connections throughout the property.
Reverse Osmosis Systems Have a Few Extra Leak Points
Under-sink reverse osmosis systems are compact, but they have more tubing and components than a standard carbon filter. The most common leak locations are the feed-water adapter, prefilter housings, storage tank valve, automatic shutoff valve, faucet tubing, and drain saddle.
A drip from the drain saddle may indicate a loose clamp, a misaligned hole, or a cracked drainpipe section. A leak near the storage tank may come from a loose tank valve or tubing that was not pushed fully into the fitting. Do not use thread tape on the tank’s quick-connect port unless the manufacturer specifically calls for it.
If water appears at the air-gap faucet, the drain line may be restricted or improperly routed. This is not a faucet failure to ignore. A blocked drain path can force water where it does not belong and should be corrected before the system is put back into regular use.
When a Leak Happens Right After a Filter Change
A post-maintenance leak is frustrating, but it gives you a useful clue: focus first on the component that was touched. Turn off water, relieve pressure using the system faucet or pressure-relief button, and reopen the housing or connection.
Check that all O-rings are present, correctly positioned, clean, and lubricated. Make sure the old O-ring was not left behind in its groove and doubled up with the new one. Verify the cartridge model and orientation, then reassemble carefully.
Once reinstalled, turn water on slowly. Let the housing fill while watching the seam, then check again after several minutes. Whole-house systems may need air purged from a nearby cold-water faucet. Reverse osmosis systems may need time to refill and flush, but neither process should produce an ongoing drip.
When to Replace the Part Instead of Repairing It
Some water filter leaks have a straightforward repair. Others are a clear signal to replace a component. Replace a housing with any crack, stripped threads, visible bulging, or damage from freezing. Replace brittle tubing, deformed push fittings, flattened O-rings, and corroded valves rather than trying to extend their life.
If a leak returns after correct O-ring service and careful reassembly, confirm that the replacement cartridge is compatible and that pressure is within the system’s rating. Repeated leaks can also point to a filter setup that is undersized for the home’s flow demand or built with components not suited to the installation environment.
For homeowners managing a whole-house filter, well-water treatment system, or reverse osmosis setup, matching replacement parts matters as much as choosing the right media. Pure Water Guys can help identify compatible housings, cartridges, fittings, and system components based on the equipment and water problem you are treating.
A water filter should give you confidence every time you pour a glass or open a faucet. Address a drip early, use parts designed for the system, and restore pressure gradually - that small bit of care keeps clean water where it belongs.