
July 14, 2026
How to Install an Under Sink Filter Safely
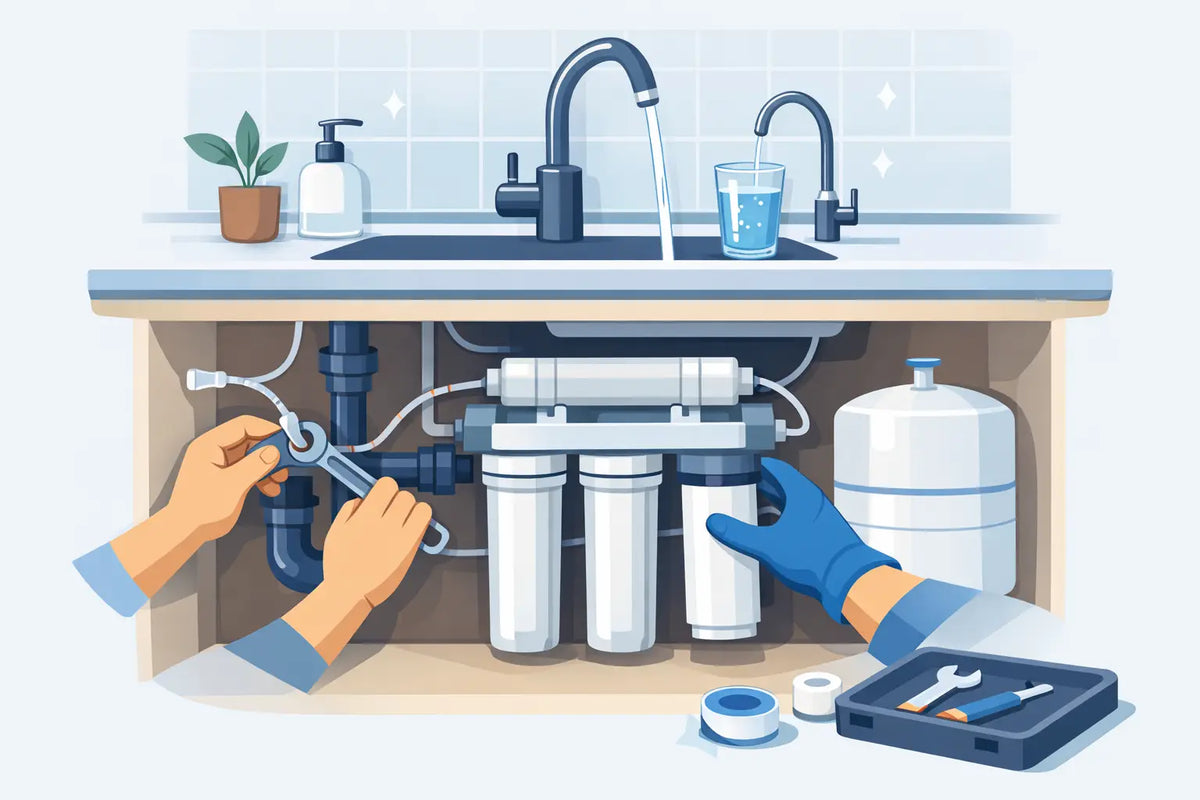
A new under-sink filter can make a noticeable difference at the faucet you use most for drinking, cooking, coffee, and baby bottles. Knowing how to install under sink filter systems correctly helps protect that investment, prevent leaks, and ensure your family receives filtered water rather than water that bypasses the system.
Most basic under-sink filters are manageable for a confident homeowner with standard tools. Reverse osmosis systems require a few additional connections, including a drain line and storage tank, but the same careful approach applies. Before starting, confirm that your chosen system matches the contaminants or water concerns you want to address, whether that is chlorine taste, lead, PFAS, sediment, or other dissolved contaminants.
Start With the Right Under-Sink Filter System
Installation is easier when the system fits both your water quality needs and the space below your sink. A simple carbon block filter may connect directly to the cold-water line and feed your existing faucet or a dedicated drinking-water faucet. A reverse osmosis system typically uses several filter stages, a pressure tank, and its own faucet.
Check the system specifications before opening the box. You need enough cabinet height to remove filter housings or cartridges during future service. Also confirm the cold-water shutoff valve is accessible and that your plumbing material is compatible with the included adapter. Older homes may have corroded valves, galvanized piping, or nonstandard connections that call for an extra fitting or professional plumbing help.
If you are on well water, have visible sediment, low pressure, sulfur odor, or unusually high total dissolved solids, system selection matters as much as installation. A drinking-water filter is not a substitute for treating a larger water problem at the source.
Gather Tools Before You Shut Off the Water
Your filter kit should include its mounting hardware, tubing, fittings, and instructions. Set out everything first so you are not searching for a wrench while water is off.
For most installations, you will need:
- An adjustable wrench and channel-lock pliers
- A Phillips screwdriver or drill for the mounting bracket
- A bucket, towel, and paper towels for catching water
- A utility knife or tubing cutter for clean, square tubing cuts
- A tape measure and marker
How to Install an Under Sink Filter Step by Step
Begin by clearing the cabinet and placing a towel beneath the cold-water shutoff valve. Turn off the cold-water supply by rotating the valve clockwise. Open the cold side of the kitchen faucet to release pressure and allow residual water to drain.
1. Mount the filter housing or manifold
Hold the bracket in place against the cabinet wall and make sure there is enough clearance below the filter housing for future cartridge changes. Mark the screw locations, then secure the bracket to a solid cabinet sidewall or back wall. Do not mount a heavy system to thin, unsupported paneling.
For reverse osmosis systems, position the manifold where tubing can reach the faucet, tank, feed-water valve, and drain without sharp bends. Keep the tank upright in an open area where it can be reached for service.
2. Connect the cold-water feed
Disconnect the cold-water riser tube from the existing shutoff valve. Keep the bucket underneath because a small amount of trapped water will drain out. Install the supplied feed-water adapter or tee between the shutoff valve and the riser tube, following the direction shown in your system instructions.
Reconnect the riser tube to the adapter, then connect the filter's feed tubing to the new valve or quick-connect fitting. Push tubing fully into quick-connect fittings until it seats firmly. If your fitting uses a locking clip, install it. A tubing end that is angled or only partly inserted can leak under pressure.
3. Install the dedicated faucet, if included
Many under-sink filters use a separate faucet so filtered water stays on its own line. Check whether your sink already has an unused hole for a soap dispenser or accessory faucet. If not, you may need to drill through stainless steel, composite material, or stone.
Do not drill into a countertop until you confirm the material, clearance beneath it, and manufacturer guidance. Stone and quartz often require specialized tools and are usually best handled by a countertop professional. Once the faucet is mounted, connect the outlet tubing from the filter system to the faucet stem.
4. Add the drain connection for reverse osmosis systems
This step applies only to reverse osmosis units. Install the drain saddle on a straight section of the sink drainpipe above the P-trap. Drill the required hole through one side of the pipe, align the saddle opening over the hole, and tighten it evenly.
The drain line carries reject water away from the membrane. It should run without kinks or low loops that could restrict flow. Never connect an RO drain line to a garbage disposal unless the system instructions specifically permit it.
5. Install filters, membrane, and tank connections
Remove any protective packaging from cartridges and the reverse osmosis membrane. Lubricate O-rings only if the manufacturer specifies a food-grade silicone lubricant. Make sure each O-ring is clean, seated properly, and not twisted before tightening the housing.
For an RO system, attach the tank valve to the tank threads as instructed, then connect the tank tubing. Do not cross-thread the valve. Keep all tubing organized and away from stored cleaners, sharp cookware, or cabinet hinges that could pinch it.
Turn the Water Back On and Check Every Connection
Slowly reopen the cold-water shutoff valve. Watch the feed adapter, tubing connections, housings, and faucet base for several minutes. Use a dry paper towel around fittings because it reveals slow leaks better than a quick visual check.
If you see moisture, shut off the supply and correct the issue before moving on. Common fixes include pushing tubing farther into a quick-connect fitting, reseating an O-ring, or gently tightening a compression nut. Never use thread seal tape on a connection that seals with an O-ring or compression ferrule unless the manufacturer directs you to do so.
For a standard carbon filter, run water through the dedicated faucet for the recommended flush period. New carbon cartridges often release harmless fine carbon particles at first, and flushing clears them out.
For reverse osmosis, allow the tank to fill fully, which can take several hours depending on water pressure and temperature. Then drain the first full tank of water, and sometimes the second, according to the system instructions. This flush removes preservatives and membrane conditioning solution before regular use.
Test Performance and Plan for Maintenance
After the system is running, check again for leaks over the next 24 hours. Open and close the cabinet door carefully to ensure it does not press against tubing. Label the installation date inside the cabinet or set a calendar reminder for filter replacement.
Replacement timing depends on the system, household water use, and incoming water quality. Sediment filters may need more frequent changes where water carries visible particles. Carbon filters can lose effectiveness when chlorine taste or odor returns. Reverse osmosis membranes typically last longer than prefilters, but their performance should be monitored rather than assumed.
A drop in flow does not always mean the filter is failing. It can indicate a clogged prefilter, low incoming pressure, a closed valve, or a kinked line. Likewise, a filter designed for taste and odor improvement may not be the right solution for a confirmed contaminant concern. Water test results and product certification claims should guide the choice.
If your plumbing layout is unusual or your water issue is more complex than a single-point drinking-water concern, Pure Water Guys can help match the system to your home before installation begins. The right setup should feel simple at the faucet and dependable behind the cabinet door - clean water, properly connected, every day.