
September 16, 2026
How to Maintain UV Sterilizer Systems at Home
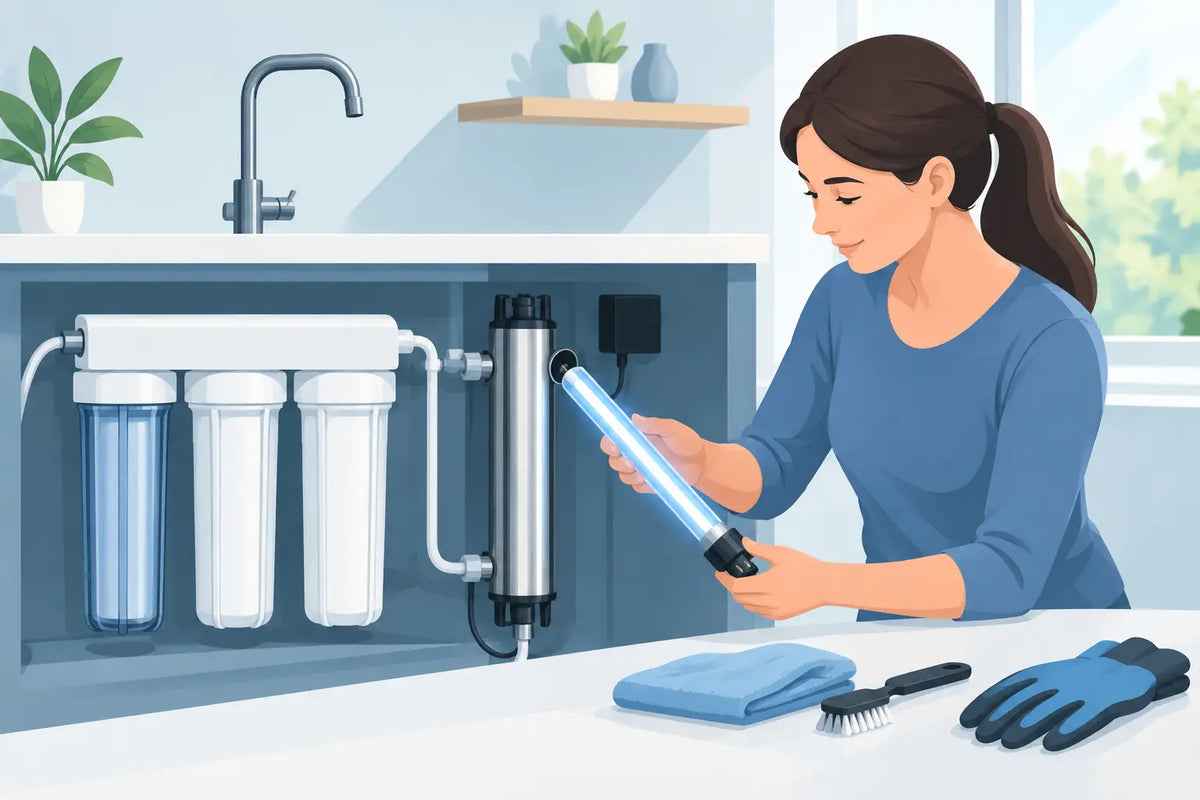
A UV system can be quietly doing its job at the exact moment your household needs it most. That is why learning how to maintain UV sterilizer equipment is not just another home maintenance task. It is how you help ensure your system can continue reducing bacteria, viruses, and other microorganisms in clear water as designed.
UV water treatment is effective, chemical-free, and low maintenance compared with many treatment methods. But low maintenance does not mean no maintenance. A lamp that still glows may no longer produce enough germicidal UV output, while mineral scale on the quartz sleeve can block the light before it reaches the water. A simple service routine protects the performance you paid for.
Understand What Your UV Sterilizer Needs to Work
A UV sterilizer treats water by exposing it to ultraviolet light inside a stainless-steel chamber. Water flows around a clear quartz sleeve, and the UV lamp sits safely inside that sleeve. The lamp never directly contacts the water.
For the system to work properly, the water must be clear enough for UV light to pass through it. Sediment, cloudiness, iron, manganese, hardness minerals, and tannins can reduce UV transmission. That is why a UV system is commonly installed after sediment filtration and, when needed, after treatment for iron, sulfur, or hardness.
Think of the quartz sleeve as a window. Even the best lamp cannot adequately treat water through a window coated in mineral deposits or dirt. Proper prefiltration and regular sleeve inspection are just as important as replacing the lamp.
How to Maintain UV Sterilizer Components Safely
Before servicing any part of a UV system, turn off the power to the controller and unplug it. UV lamps operate at high temperatures, so allow the system to cool for at least 10 to 15 minutes before handling it. Close the water supply or use the system's bypass valve if one is installed, then relieve pressure by opening a nearby faucet.
Never look directly at an operating UV lamp. Germicidal UV light can injure your eyes and skin. The lamp should remain inside its chamber or protective housing during operation.
Keep the system manual available during service. UV models vary in lamp connection style, alarm functions, O-ring placement, and whether the chamber can be serviced without removing it from the plumbing. Follow the manufacturer-specific instructions when they differ from general maintenance guidance.
Replace the UV Lamp Every Year
Most residential UV lamps should be replaced after approximately 9,000 hours of use, which is usually one year of continuous operation. The lamp may still emit visible blue light after that point, but visible light is not a measure of disinfection strength. Its germicidal output gradually declines with age.
Mark the installation date on the controller, write it on a nearby service label, or set a calendar reminder. Many systems have an audible alarm, countdown display, or indicator light that signals when lamp replacement is due. Do not ignore that warning simply because the water looks normal. Microbiological concerns are rarely visible, and the whole purpose of UV treatment is to provide protection you cannot see.
When installing a new lamp, handle it carefully and avoid touching the glass with bare fingers. Oils from skin can create hot spots and shorten lamp life. If you touch the lamp, wipe it gently with a clean, lint-free cloth lightly dampened with isopropyl alcohol. Use only the correct replacement lamp for your UV model. A similar-looking lamp may not have the proper electrical connection, length, or UV output.
Clean the Quartz Sleeve When Needed
The quartz sleeve should be inspected during each annual lamp change. Homes with hard water, iron, manganese, or untreated well water may need sleeve cleaning more often, sometimes every three to six months. If your system includes a UV intensity sensor and it reports declining output, a dirty sleeve is one possible cause.
Remove the sleeve slowly and carefully. Quartz is durable in service but fragile when handled outside the chamber. Look for white scale, rust-colored staining, haziness, or a film on the glass. These deposits reduce the amount of UV light reaching the water.
For light mineral buildup, use a soft, lint-free cloth and a manufacturer-approved descaling solution. A mild citric-acid solution is commonly used for mineral scale, but confirm what your system manufacturer recommends before cleaning. Avoid abrasive pads, harsh scouring powders, and tools that can scratch the sleeve. A scratched sleeve can collect deposits faster and may need replacement.
Rinse the sleeve thoroughly with clean water and dry it with a lint-free cloth before reinstalling it. While the sleeve is out, inspect the O-rings for cracks, flattening, or wear. Lubricate and replace O-rings only as directed by the manufacturer. A worn O-ring can cause a slow leak that may go unnoticed until it damages nearby equipment.
Check the Pretreatment Filters
A UV sterilizer is the final protective step in many water treatment setups, not a replacement for sediment or contaminant filtration. If the sediment prefilter is overdue for a cartridge change, it can allow more particles to reach the UV chamber and reduce treatment performance.
Check prefilters according to their rated service schedule, water conditions, and pressure drop. A visibly dirty filter, reduced water pressure, or frequent sleeve fouling are signs that the filter may need more frequent service. For private well water, annual water testing can reveal changes in iron, manganese, turbidity, or other conditions that affect UV performance.
If your water has persistent hardness or iron, solve the upstream issue instead of repeatedly cleaning the sleeve. A properly matched softener, iron filter, or sediment filtration system can reduce UV maintenance and help protect plumbing fixtures and appliances throughout the home.
Inspect for Leaks, Alarms, and Flow Issues
After lamp or sleeve service, restore the water supply slowly and inspect the chamber, end caps, and fittings for leaks. Let water run through the unit until trapped air clears. Then reconnect power and verify that the controller starts normally.
Pay attention to audible alarms and status lights. Depending on the model, an alarm can indicate lamp age, lamp failure, low UV intensity, a sensor problem, or a power interruption. Some systems require a controller reset after lamp replacement. If an alarm continues after you install the correct new lamp, do not assume the system is treating water normally. Check the lamp connection, sleeve condition, sensor, and controller instructions.
Flow rate also matters. Every UV system is rated for a maximum flow based on a target UV dose. Running water faster than the system's rated capacity reduces contact time. This can happen when a system is undersized for the home, when plumbing changes increase demand, or when a commercial application adds fixtures or equipment. A UV unit for a small home may not be appropriate for a large household, multi-unit property, restaurant, or facility.
Keep a Simple UV Maintenance Record
A short service record makes future maintenance much easier, especially for rental properties, vacation homes, and commercial sites. Record the lamp installation date, sleeve cleaning date, filter changes, any alarm messages, and observations such as staining or pressure changes.
This record can also help identify patterns. If a quartz sleeve develops scale every few months, that points to a water chemistry issue upstream. If lamps fail early, the cause may be electrical, moisture-related, or connected to frequent power cycling. UV lamps are designed for continuous operation, so routinely switching the system on and off is generally not recommended unless your manufacturer specifies otherwise.
When to Ask for System Guidance
Some UV maintenance problems are straightforward. Others signal that the system needs a closer look. Contact a water treatment professional if you have repeated alarms, frequent sleeve fouling, unexplained leaks, poor water pressure, changing well water conditions, or uncertainty about whether your UV unit is correctly sized.
This is especially worthwhile if your water has high iron, sulfur odor, sediment, tannins, or hardness. UV treatment addresses microorganisms, but it does not remove minerals, chemicals, PFAS, or dissolved contaminants. The right treatment train may include sediment filtration, softening, iron reduction, carbon filtration, reverse osmosis, or other equipment before the UV stage.
At Pure Water Guys, the goal is to help match the system to the water problem rather than asking one device to solve every issue. When your pretreatment and UV sterilizer work together, you get more dependable performance and fewer service surprises.
A fresh lamp, a clean quartz sleeve, and properly maintained prefilters are small steps with a meaningful payoff: water treatment that remains ready to protect the people, property, or operation that depend on it.