
September 14, 2026
How to Install Water Filters That Fit Your Home
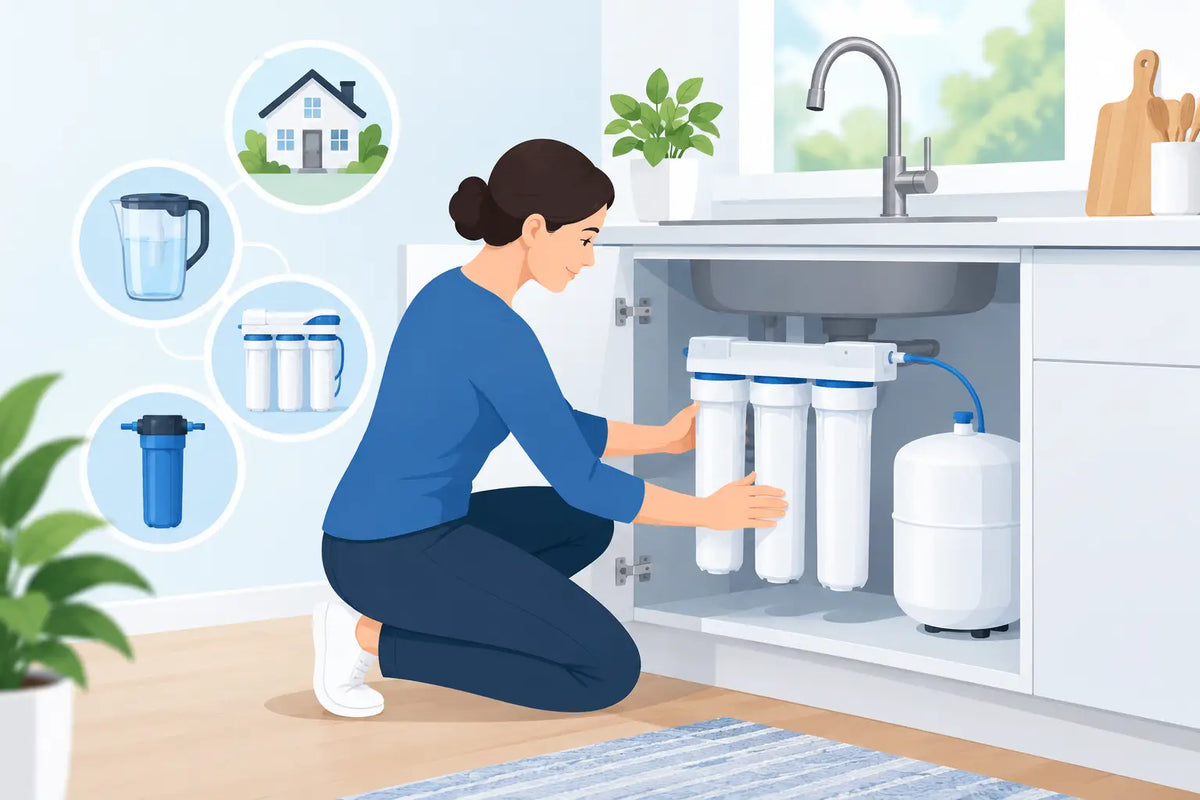
A water filter only protects your home when it is installed in the right place for the problem you are trying to solve. A carbon filter placed under the kitchen sink can improve drinking water taste, but it will not stop hard-water scale in the water heater. Before you install water filters, match the system to your water source, plumbing layout, household demand, and treatment goals.
That approach prevents two costly mistakes: buying more filtration than you need or installing a capable system where it cannot do its job. Whether you are treating city water, well water, or a commercial supply, a little planning delivers cleaner water and more dependable performance.
Start With the Water Problem, Not the Product
The first question is not, "Which filter should I buy?" It is, "What needs to be removed or improved?" Chlorine taste and odor, sediment, hardness, sulfur smell, iron staining, microorganisms, and PFAS each call for different treatment media and system designs.
A recent water report is the best starting point. Municipal customers can review their local water quality report, but a point-of-use test or laboratory analysis may still be useful because water conditions can vary inside a building. Well owners should test regularly, especially after flooding, a change in taste or odor, or work on the well or plumbing.
Water source matters. City water often benefits from sediment and carbon filtration, with reverse osmosis used at a dedicated drinking-water faucet when reduction of dissolved contaminants is a priority. Well water may require a staged system that addresses sediment, iron, manganese, sulfur, hardness, or bacteria before water reaches the home. A UV sterilizer can be an effective final barrier for microbiological concerns, but UV does not remove sediment, chemicals, or minerals.
For businesses, system selection also depends on peak flow, operating hours, incoming water chemistry, and the equipment being protected. A restaurant may need filtration for ice machines and beverage equipment, while a facility may require a larger reverse osmosis system with storage and delivery capacity designed around production demand.
Choose Where to Install Water Filters
The installation point determines what the filter protects. Under-sink systems treat water at one tap, usually the kitchen faucet. They are a practical choice for homeowners focused on cooking and drinking water, especially when paired with a dedicated reverse osmosis faucet.
Whole-house filtration installs on the main water line, typically after the water meter or pressure tank and before branches feed fixtures and appliances. This placement can reduce sediment and chlorine throughout the house, protect plumbing components, and improve water at showers, laundry connections, and sinks. If hard water is the issue, a water softener or salt-free conditioner should be selected as part of the overall treatment sequence rather than treated as an afterthought.
Shower filters are simpler point-of-use options for people who want to reduce chlorine exposure at a single shower. They are convenient, but they do not replace a whole-home solution when the goal is to protect every fixture or appliance.
The right order matters when multiple systems are installed. Sediment filtration commonly comes first to protect downstream media. Carbon filtration is often positioned before UV because clear water allows UV light to work effectively. Reverse osmosis systems need appropriate prefiltration, and many benefit from a pressure check before installation. The correct sequence depends on the equipment and water test results.
Prepare the Site Before Installation
Measure the installation area before ordering a system. A filter housing needs room below it for cartridge changes, and a whole-house tank needs a stable, level location with access to a drain if the system backwashes or regenerates. Do not place equipment where freezing temperatures, direct sunlight, or accidental impact are likely.
Confirm the incoming pipe size and material. Installing a high-flow whole-house system on a restricted line can create pressure loss, while undersized fittings can limit an otherwise properly sized filter. Check the home’s static pressure as well. Most residential treatment systems operate best within a defined pressure range, and reverse osmosis systems may need a booster pump when pressure is too low.
Before beginning, make sure the installation plan includes four essentials:
- A working main shutoff valve and a way to relieve water pressure before cutting into plumbing.
- A bypass arrangement for whole-house systems, so water can remain available during service or emergencies.
- Proper drain access for reverse osmosis reject water, backwashing filters, softeners, or equipment that requires an air gap.
- Electrical access for UV systems, pumps, electronic control valves, or leak detection equipment.
How to Install Water Filters by System Type
Under-Sink and Reverse Osmosis Systems
Begin by shutting off the cold-water supply beneath the sink and opening the faucet to release pressure. Install the feed-water adapter according to the system instructions, then mount the filter bracket where cartridges can be removed without obstruction. Keep tubing runs neat and avoid sharp bends or kinks.
For reverse osmosis, install the dedicated faucet through an existing sink hole or an approved new opening. Connect the drain saddle only where permitted and position it correctly on the drainpipe. Install the storage tank with enough clearance to check pressure and make future connections. Once all tubing is secure, turn on the feed water slowly and inspect each fitting for leaks.
New reverse osmosis membranes and carbon filters need flushing. Follow the system’s specified flush procedure before drinking the water. The first tank or two may be discarded depending on the model, and this step helps clear carbon fines and membrane preservatives.
Whole-House Filters and Treatment Systems
Shut off the main water supply, open a lower fixture to depressurize the line, and verify that water has stopped flowing before cutting pipe. Install the system in the marked flow direction. A bypass with shutoff valves on both sides of the equipment makes maintenance far easier and gives you an immediate option if service is ever required.
Use approved fittings compatible with your plumbing material and support heavy housings or tanks properly. For cartridge-based systems, leave enough vertical space below the sump to remove it. For backwashing filters, softeners, and iron treatment systems, connect the drain line securely and protect it from kinks, freezing, and backflow.
After plumbing is complete, restore water gradually. Keep the bypass open at first if the manufacturer recommends an initial rinse cycle. Flush carbon media, sediment filters, or specialty media until the water runs clear and free of air. Then check the system at normal household flow - not just with one faucet trickling - to confirm pressure, flow, and connections are performing as expected.
UV Sterilizers
A UV unit should be installed after sediment removal because particles can shield microorganisms from the light. Mount the chamber according to its orientation requirements, use a dedicated grounded outlet, and avoid powering the lamp before the chamber is full of water. UV lamps require periodic replacement even when they still appear to glow, because germicidal output declines over time.
Test Performance After the System Is Running
A successful installation is more than a dry fitting. Check every joint after the system has been under pressure for several minutes, then inspect again over the next day. Look for slow drips around threaded connections, filter housings, drain fittings, and valves.
Taste and odor improvements may be immediate, while some systems need time to flush and stabilize. For a reverse osmosis system, measure total dissolved solids before and after treatment if you want a basic performance check. For well water treatment, retesting is the most reliable way to confirm that the system is addressing the original concern.
If water flow is weak after installation, look first for a partially closed valve, incorrect flow direction, clogged prefilter, kinked tubing, or a system that is too small for the home’s peak demand. Do not assume reduced flow is normal. A properly specified system should provide useful flow while delivering the intended treatment.
Know When Expert Installation Is the Better Choice
Many homeowners can install a countertop filter, shower filter, or straightforward under-sink system. Main-line filtration becomes more complex when it involves cutting pipe, drain routing, electrical work, tank programming, pressure adjustments, or well-water treatment sequencing.
Professional help is often the safer option for systems that protect an entire home, serve multiple tenants, or support business operations. A knowledgeable water treatment specialist can also help confirm the right system size before installation. Capacity, service intervals, and flow rate are just as important as the contaminant claim on the box.
Protect Your Investment With Scheduled Service
Every filter has a maintenance schedule. Sediment cartridges may need replacement more frequently in homes with visible particulates, while carbon cartridges, membranes, UV lamps, and treatment media have their own service life. Waiting until water quality noticeably declines can leave the system operating below its intended performance.
Keep a simple record of installation dates, cartridge changes, water tests, and any pressure changes. For whole-house equipment, inspect the bypass, drain line, and control settings during regular home maintenance. For commercial systems, scheduled inspections help prevent downtime and protect equipment that depends on treated water.
Clean water is not a one-size-fits-all purchase. Start with your water, plan the installation around your plumbing and demand, and choose a system you can maintain with confidence. If the water problem or installation path is unclear, a qualified treatment expert can help you turn a complicated decision into a practical, lasting solution.